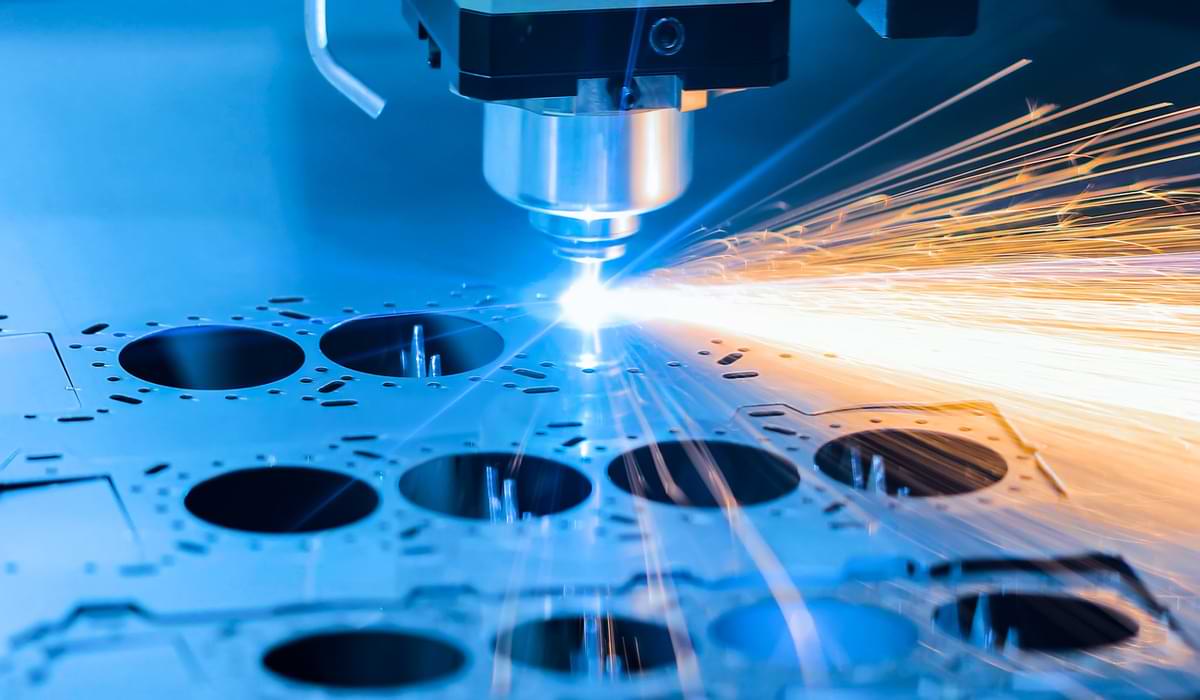
While a metal laser cutter may not be your first thought when it comes to making signage for your business or home, it actually can be an incredibly smart, stylish and cost-effective option.
Ask around and you’ll find that anyone who has signage made via laser cutting will tell you a different benefit they’ve experienced. These are just a few of the most common reasons people choose laser cutting for their signage:
Unless you’re in the industry or have dabbled in a range of creative disciplines, you’re unlikely to have had something laser cut before. That’s okay though! We’re here to use our wealth of experience to make sure that your artwork — whether it’s for a bespoke wedding arch or for your next big booth at the hottest convention — looks just as it should.
To make it easier, we’ve divided these tips into two categories: those for before cutting and those for after cutting.
Before you start worrying about ‘How do I prepare my art for laser cutting?’, you need to know what material you’re cutting into. There’s a range of factors to consider, like weatherproofing, day-to-day wear and tear (including if people will be touching or otherwise interacting with it) and what the rest of your setup will look like. For a more boho or natural look, wood is a great choice. However, you may need to treat it to ensure it doesn’t weather prematurely. Alternatively, metal can be an extremely durable choice, even when left outside all day.
There’s a lot to consider when it comes to your design. You want to be sure that you’ll be satisfied with the end result not just tomorrow but well into the future too. This helps ensure you get your money’s worth out of the laser cutting, as well as be proud of your signage. While this list isn’t exhaustive, we recommend thinking about:
As you will be using a signage and laser cutting service, you want to ensure that your art file is set up so it is clear what the end result should be. While the service will likely you provide you with a list of requirements, the following are generally needed:
If you aren’t sure how to set up your file to meet the service’s needs, be sure to get in touch with them. They may even be able to set the file up for you.
Once your signage has been cut, you can re-evaluate the need for any additional treatments or touch ups to get the look you’re after. You may have initially thought you would like to paint part of the design but, upon seeing it all cut out, decided you like the ‘natural’ look. Remember though, many of these treatments, particularly for metal, are about more than just aesthetics. Options like powder coating and galvanising don’t just add colour or shine to the metal of your sign; they can also help make it even more durable.
Even the toughest metal signage cut using a laser cutter will need a bit of TLC every now and again. Simple things like wiping with a soft, dry cloth to remove dust, dirt and fingerprints can have your signage looking fantastic for longer. You may also like to look at refreshing powder coating or other treatments after a few years too to help revitalise the sign if it is structurally okay.
When it comes to laser cut signage, it really couldn’t be easier, especially if you’re working with Lightning Laser. As experienced metal workers and laser cutters, we can help you create signage that is truly memorable and attractive. From start to finish, we can recommend the best materials and treatments, and even help out with getting your art file all set up. To learn more about our services or to get started on your signage, get in touch today!